

The membrane is the heart of the reverse osmosis systems and it's where the majority of the impurities are eliminated from the water. You will require a new RO membrane every 3 to 5 years, depending on how often you flush, how much water you create, and the calibre of your source water.
Performance analysis of RO membranes:
1. Desalination rate
The desalination rate is determined when the reverse osmosis membrane component is built and formed. The ultra-thin desalination layer's density on the reverse osmosis membrane component controls the rate of desalination. The desalination layer becomes denser as the rate of desalination increases and water production decreases. The rate of reverse osmosis removal of the compounds depends on their molecular weight and structural characteristics.
2. Water flux
Water flux, which is typically expressed in tonnes per hour or gallons per day, refers to the production capacity of the reverse osmosis system, or the amount of water permeating the membrane per unit time.
3. Recovery rate
The recovery rate of a membrane system is the proportion of feed water that is transformed into product water or permeate. In order to increase economic efficiency, the recovery rate is often hoped to be maximized, however it should be the highest value at which the membrane system won't precipitate due to contaminants such salts supersaturation.
4. Permeate flow rate
Reverse osmosis membrane components' permeate flow rates are a crucial indicator of water production. If the permeate flow rate is too high, membrane fouling will be exacerbated because the water velocity perpendicular to the membrane surface will increase.
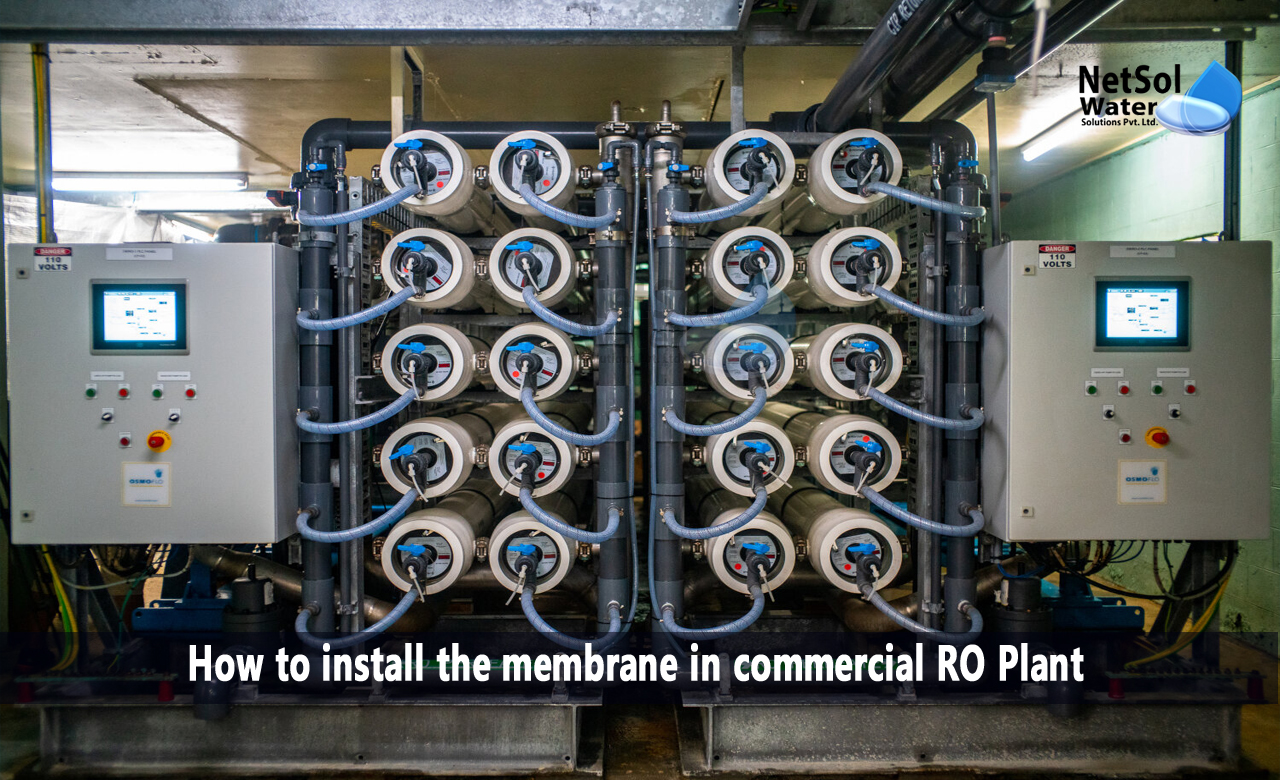
How to Install the Membrane in Commercial RO Plant?
1. Take Old Membrane Off
Unplug the three tubes from your RO membrane housing and turn off the source water. Take a picture of the RO Membrane before you remove the tubing so you will know where to reattach it when you replace the membrane.
Simply apply downward pressure to the plastic collar, then while maintaining that pressure, remove the tube from the fitting. If you are having difficulties pressing the collar down with your fingertips, you can take out the tube while pushing down on the collar with a set of needlenose pliers.
You'll take the RO membrane housing from its clips once the tubes have been unplugged. The clips themselves don't need to be taken out of the RO/DI unit because screws hold them in place. The membrane housing can be easily removed by firmly grasping it and pulling up and away from the device.
2. Unscrew The Cap
You need to detach the cap from the membrane housing once the membrane has been taken out. Righty-tighty, lefty-loosey: keep that in mind. Particularly three to five years later, removing these caps might be challenging. With a little rubbing from a cloth or rag, you can acquire a grip on the cap and unscrew it with your hands. In the worst situation, protect the plastic housing by using plumbers pliers while holding them in place with a towel. You can break the cap loose with the help of the pliers, which can then be threaded by hand.
The membrane within will be visible once the cap has been taken off. On the membrane, pay attention to the two black O-rings. One of them ought to be in the cap and the other ought to be on the housing's main body.
3. Old Membrane to be Removed
RO Membranes are simply held firmly in place with pressure and o-rings. Because there are no threads or clips, you can simply remove the device out of the housing. If your hands are little enough to reach inside and pull it out, that's fantastic! Needles nose pliers will work for the rest of us. The plastic spindle in the middle should be grabbed to remove it most effectively. Do not worry about harming the membrane with the pliers because it is being discarded along with the membrane.
Take a tight hold of the white spindle and draw it out straight. As long as you have a firm grasp on the membrane, it should readily release and slide out.
4. Place the New Membrane in Place
The new membrane's installation will be the reverse of removal. Take the new membrane out of its packaging, then place it inside the housing for the membrane. In case you forgot, the membrane end with the two little O-rings on the plastic end should go in first. Observe the photo above.
The membrane should be manually pushed into the housing as far as it will go and until it is snug. Before screwing on the cap, make sure the RO membrane is properly seated inside the housing and pushed all the way in. DO NOT press the RO membrane into the housing using the cap.
Reinstall the cap onto the housing as tightly as you can by hand after the membrane has been properly installed.
5. Replacing the Tubing
Before putting the housing back into the clips at this stage, it is simpler to rejoin the tubes. Refer to the photo you took at the start.
The RO membrane's inlet is connected to the red tube by a cap.
The product water is in the blue tube, while the wastewater port, or off-center port, is in the black tube (near-center port on the housing's end)
You're finished when you push the RO membrane back into the housing clips. Before collecting the water, make sure to check your tubing connections for leaks and clean the membrane to remove any residue. To prevent needless DI resin fatigue, it is also advised to remove your DI resin when you rinse the membrane.
Do you need an advice or assistance on selecting the best water and waste water treatment unit? We have solutions for all your problems!
Let us now your problem, our experts will make sure that it goes away.
For an assistance or related query,
Call on +91-965-060-8473 Or write us at enquiry@netsolwater.com